Portfolio

GB Emulator

My emulator playing Tetris in Demo Mode

I’ve been messing about with emulators! The GB hardware is very well documented with lots of interesting blog posts on the topic so I’ve decided to have a go at writing a gameboy hardware emulator myself.

The current status of the project is that I’ve implemented most of the CPU opcodes, GPU emulation and memory bank controller emulation required to get tetris up and running. I also wrote a GPU debugger, memory inspector and disassembler using imgui that can be used to find emulator bugs. I’m also using my own GLWT library to create a window and make an OpenGL context.

So there is just about enough there for you to get through the menus, watch the demo mode and play a game of tetris! There are some crazy bugs though - I’ve not implemented the hardware used for random number generation so you only get square blocks falling from the top of the screen making for a less than entertaining game of tetris. In addition the sprite rendering has an off by one error somewhere (a faulty instruction somewhere?) meaning the blocks are shifted down by 1. Audio is also not implemented yet.

Debugging Tetris

I’m currently focused on writing some cpu unit tests for the whole thing to find and fix those faulty instructions, but it is a huge task and is taking me a while. Overall it’s been a pretty fun project to hack around with so far.

I’ve thrown the whole source code of the thing up on github - take a look! https://github.com/zanders3/gb

GLWT

Inspired by the fantastic stb libraries by Sean Barrett I got tired of spending hours messing about trying to get an OpenGL context up and running. Libraries such as SDL can manage this for you very well but feel overkill when you’re starting out.

So I’ve decided to write my own window and platform abstraction library which will grow over time as I develop my other personal projects. The whole thing is pretty bare bones at the moment so I wouldn’t recommend you actually use it right now. Take a look!

https://github.com/zanders3/glwt2

Usage

This main.c will get you started:

#include "glwt.h"

void glwt_setup()
{
}

void glwt_draw(float time)
{
    glClearColor(1.0f, 1.0f, 1.0f, 1.0f);
    glClear(GL_COLOR_BUFFER_BIT);
}

int main(int argc, char *argv[])
{
    return glwt_init("Hello, GLWT!", 800, 600, false);
}

Compiling

Simply create a new empty XCode/Visual Studio project and add glwt.(cpp/mm) and glwt.h to the project.

On Mac you will need to go to the ‘Build Phases’ XCode project settings tab and add the Cocoa.framework and OpenGL.framework for the project to link. Also ensure the glwt.mm file is an mm file not a cpp file.

Input

Pressed keys are stored in the global bool glwt_keydown[255]; structure as ascii keycodes. e.g. glwt_keydown['a']. This will work for a-z and 0-9 keys. There are additional keys defined in the Keys enum at the top of the header file. This currently only works on windows - I’ll be adding Mac support later!

C# JSON Parser

Motivation

I’ve had a go at writing my own JSON parser. Why?

Unity Engine’s mono runtime doesn’t have JIT support on iOS and has a relatively simple garbage collection scheme. It is fiddly with existing parsers to get them up and running in Unity. DLLs in Unity are a pain, especially if they use JIT or the wrong .NET framework version and you also lose source access when debugging.

So my main goal here is to write the simplest JSON parser and writer, in as few lines as possible, whilst minimising memory usage. Speed and performance is less of a concern.

Installation

Simply copy and paste the JSON Parser and/or the JSON Writer

Documentation

A really simple C# JSON parser in ~300 lines

  • Attempts to parse JSON files with minimal GC allocation
  • Nice and simple "[1,2,3]".FromJson<List<int>>() API
  • Classes and structs can be parsed too!

    1
    2
    3
    4
    5
    class Foo
    {
    public int Value;
    }
    "{\"Value\":10}".FromJson<Foo>()
  • Anonymous JSON is parsed into Dictionary<string,object> and List<object>

    1
    2
    var test = "{\"Value\":10}".FromJson<object>();
    int number = ((Dictionary<string,object>)test)["Value"];
  • No JIT Emit support to support AOT compilation on iOS

  • Attempts are made to NOT throw an exception if the JSON is corrupted or invalid: returns null instead.
  • Only public fields and property setters on classes/structs will be written to

Limitations:

  • No JIT Emit support to parse structures quickly
  • Limited to parsing <2GB JSON files (due to int.MaxValue)
  • Parsing of abstract classes or interfaces is NOT supported and will throw an exception.

Example Usage

This example will write a list of ints to a File and read it back again:

1
2
3
4
5
6
7
8
9
10
11
12
13
14
15
16
17
18
19
20
using System;
using System.IO;
using System.Collections.Generic;
using TinyJson;
public static class JsonTest
{
public static void Main(string[] args)
{
//Write a file
List<int> values = new List<int> { 1, 2, 3, 4, 5, 6 };
string json = values.ToJson();
File.WriteAllText("test.json", json);
//Read it back
string fileJson = File.ReadAllText("test.json");
List<int> fileValues = fileJson.FromJson<List<int>>();
}
}

Save this as JsonTest.cs then compile and run with mcs JsonTest.cs && mono JsonTest.exe

allRGB Rainbow Fractal

The challenge was simple: create an image containing all 16777216 RGB colours in a single image with not one colour missing or duplicated!

Rainbow Fractal

At the time there weren’t many mandelbrot fractal examples so I decided to try and find a way to create an all RGB image of the mandelbrot set. The resulting image is a 4096x4096 48.1Mb in PNG format. A compressed thumbnail is below; go to allRGB.com if you want to see the full image.

The code I wrote to create the image is available here. It works by first calculating a color mapping representing every RGB color, which is then sorted by Hue.

Next we generate a grayscale mandelbrot image whilst generating a histogram of the range of values in this grayscale image. The histogram is then converted into a cumulative histogram which gives us an offset into the color map. This in effect means we have a bucket of colours to choose from for each grayscale value representing the mandelbrot image.

We can now generate the image at this point by looping through the grayscale mandelbrot image, looking up which histogram bucket the gray pixel is in, use up one of those RGB colours in the bucket and use that colour in the final image.

This simple algorithm does have a drawback of producing weird shapes due to the hue sorting so we randomise the colours contained within each histogram bucket to produce a more pleasing image when viewed from a distance!

I hope that all made sense! It certainly was a fun challenge to do; I can highly recommend giving this challenge a go!

Dungeon Heart

Dungeon Heart was a game made in 48 hours with Alex Trowers and Leanne Bayley as part of the 2013 Global Game Jam game jamming competition. We even managed to get a good 7 hours sleep and got the game we planned to make finished on time!

Since we used Unity you can play the full game here!

The Title Screen

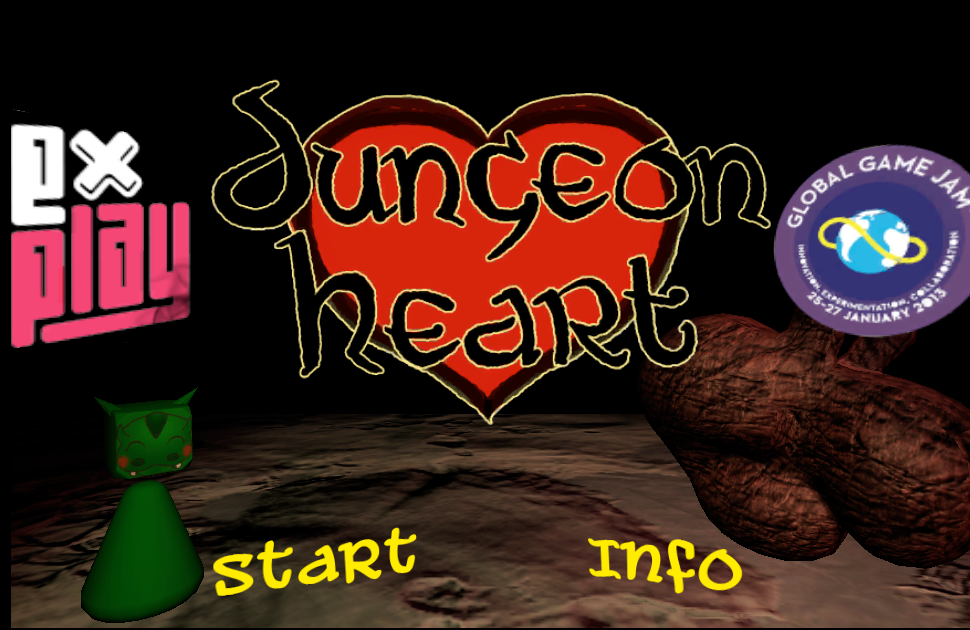
The theme was ‘Heartbeats’ so naturally as big fans (and for some of us ex-employees) of Bullfrog we made a Dungeon Keeper clone, since Dungeon Keeper has a heart in the middle. The game was built with the Unity Game Engine using C#. I find Unity one of the easiest game engines to use, and it is the perfect tool for prototyping and game jamming.

At first we decided how to best split up the work. It was decided that I would focus on the code, Leanne on the Art and Trowers would handle the game design and jump into the other two disciplines where needed.

Day 1

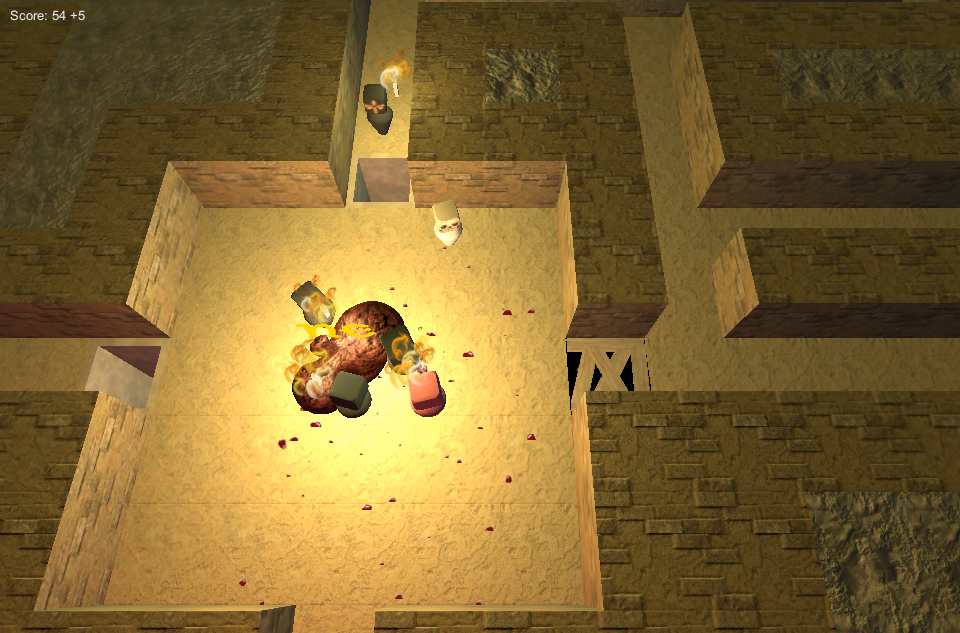
To start with I focused on getting a basic tile based map engine going, and we made a decision to go 3D. Leanne started cranking out some monsters whilst Trowers searched for sound effects and started throwing some particle effects together. Each level used a really simple text file to define each level layout, with each different character in the text file representing a tile in the map in the level. This allowed us to create a whole bunch of levels really quickly.

So I got that all up and running and then started to focus on the biggest, scariest task - AI Pathfinding! Whilst I knew about the A* pathfinding algorithm and how it worked, I had never attempted to write one from scratch during a game jam before. Luckily thanks to this fantastic explanation and some fixing of a few off by one errors I managed to get a basic pathfinding system working.

Attack and Defence of your Dungeon Heart

I then spent the next few hours setting up a basic AI system. None of the characters in the game were controlled directly and instead needed to decide for themselves where they needed to go. This was done using Dijkstra’s algorithm, a variant of A* to find the nearest target. For good characters their targets involved other creatures as a first priority, followed by the Dungeon Heart itself. For the evil creatures they simply targeted the nearest (in map steps) good creature.

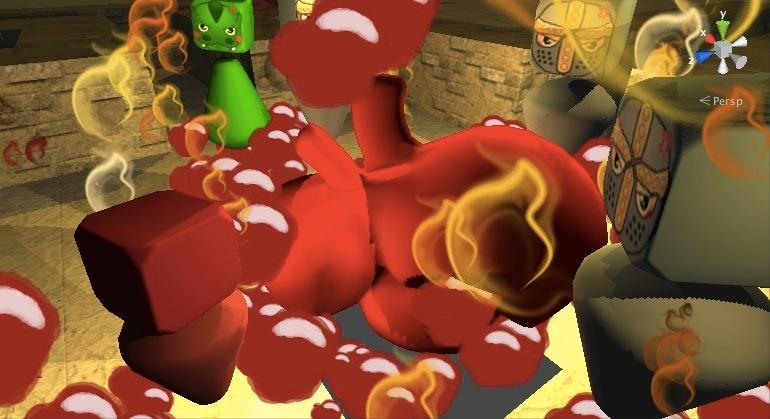
The AI system also had a really simple animation system that made the characters jump and move between tiles to the time of the Dungeon’s Heartbeat.

We <3 Dragons Team Logo

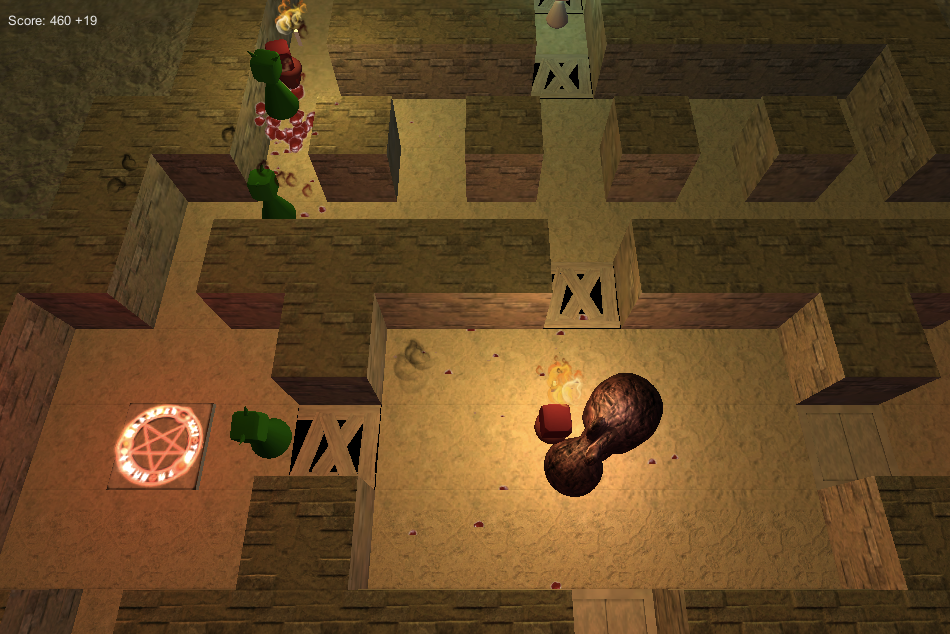
There were 6 character types implemented in the game - 3 good and 3 evil. Naturally the good guys are sneaking into your dungeon and trying to smash up your Dungeon Heart whilst the evil player needs to defend the Dungeon by setting trapdoors (a last minute inclusion, but one of the best bits) and clicking on spawn points at the correct time. If you clicked the spawn point on the beat of the heartbeat three times in row then you would spawn the most powerful creature, two times for the second most powerful and once for the least. Mess up your timing and nothing would happen! The balancing and implementation of the spawn timing system was done by Trowers whilst I was sorting out the pathfinding and character AI system.

By the end of the first night we were in a pretty good position - we had a basic pathfinding system with good creatures pathfinding to the Dungeon Heart but not doing any damage.

Day 2

So with the solid start from the previous day things were looking pretty good the following morning! The final day was spent implementing the final gameplay design making the two different sides attack each other by introducing an attack system and hit points to each character. I also set up the victory and loss conditions, making the Dungeon Heart beat faster when you are about to lose, creating lots of tension in the final moments.

Outnumbered by Knights

The rest of the day was spent getting multiple levels with multiple waves of enemies working and fixing lots of bugs that had popped up over time. Trowers also got the sound effects plugged in and threw some quick designs for multiple levels together as well as the coding for the spawn pads. Leanne had by this point finished all of the art so was making papercraft of the characters in the game.

The final few hours were spent manically bug fixing, as a few hours before the end a load of really strange bugs reared their heads giving us an exciting dash for the finish! At the final deadline naturally the Global Game Jam servers got overloaded but we were allowed to put our entries on a Dropbox instead which we were assured would count.

A Good Defence!

A few hours later we had the judging, done by the very scientific method of whooping and arm waving, and we were positioned in second place. We were all quite happy with that as the competition was fierce!

In summary the global game jam was great fun and opened my eyes to how much fun a game jam can be! It is a nice change of pace from what sometimes feels like the snails pace of normal game development during your day job, since in your job the software you write has to actually work and not have some really nasty bugs lurking in there! ;)

CSR Racing

CSR Racing is a free to play mobile game by Boss Alien for iOS and Android devices. You purchase, upgrade and then drag race your own car against your friends list, the world and crews across a fictional city in modern, fast cars.

Wikitime

Wikitime was my final year project of my BSc Computer Science degree at the University of Southampton. The system took the full english text from the whole of the english wikipedia which is freely available to download and attempted to position historical events on a timeline. A demo based on the Simple English Wikipedia is available thanks to Heroku.

Famous Scottish Scientists

Historical Event Extraction

Extraction Overview

To generate a timeline of every event in history the processing system first removed all syntax and formatting from the text. Since the raw text contains wikimedia formatting which is an undocumented and messy format with no official documentation this was achieved through use of lots of regular expressions. Next the text was split into sentences with the Stanford Named Entity Recogniser which also pulls out named entities giving additional information useful for later.

At this point we could start looking at the sentences in detail. The final algorithm ran a regular expression over each sentence searching for four consecutive numbers, e.g. 1990. It would then attempt to parse the date in the location around the number looking for months and days.

Event Extraction and Indexing

This system is clearly not foolproof and was very easily confused by pretty much all of the Maths pages in Wikipedia. This issue was resolved by doing a statistical analysis of the dates extracted from the page. If a date fell outside of two standard deviations of all of the dates of the page it would be discarded. In addition any events set more than 50 years in the future (e.g. 2050) or with negative years would be discarded. This really helped to clean things up.

The Life of Christopher Columbus

Finally all of these events were indexed into a Lucene index which could happily search over and retrieve the millions of events produced. A page rank algorithm based upon each wikipedia page ranking was applied to each event to bring the important events to the top and duplicate detection and removal was applied based upon the spot signatures algorithm.

Page Rank Algorithm

Processing the entire text of the english wikipedia was quite a challenge, since the file was around 44 GB uncompressed. To make the time to process this sane a threaded pipeline was written that splits the work over multiple threads, with queues between them. This allowed the whole wiki to be processed in around 12 hours on a reasonably powerful 12 core server my university left lying around ;)

The Website

The next challenge was the website needed to display the events in a web browser in an understandable way. I ended up using the Simile Timeline Web Widget to visualise the events which I then glued to the lucene index using a bit of JQuery and Javascript. This resulted in a nice and reasonably easy to use interface.

Website Homepage

So in conclusion it was a fun final year project for my degree which pushed my interests far beyond the graphics and game design which I had being doing in my free time up until that point. In case you missed the link above I highly recommend checking out the demo which uses the simple english wikipedia. If you are still interested in how the whole thing works, you can read my project report.

Pixar

Kinect Sports: Season Two

Kinect Sports: Season Two was a Xbox 360 game developed by Rare and Big Park for the Kinect as a direct sequel to the BAFTA award winning Kinect Sports title. I worked on the game at Rare as an intern software engineer between my second and third year of University.

Kinect Sports: Season Two Logo

I arrived at the studio during the final few weeks of Kinect Sports bug testing before release, so I was pulled in to assist with some of the servers that would support the final game when launched. After that I was put onto the pre production tools team helping to prepare Kinect Sports: Season Two for production. This involved fixing bugs and improving the art content, localisation and performance metrics reporting pipelines working mainly in C++ and C#.

Golf

After this the game moved into production and I was moved onto the core engine team working in C++ where I wrote a new GPU and CPU profiler for the internal game engine. I was then put on the multiplayer team where I worked directly with Artists and Designers on the ‘Challenge Play’ gameplay mode. This mode glued all of the various game modes together into a new mode which allowed you to challenge your Xbox Live friends and local profiles on the same Xbox asynchronously.

Challenge Gameplay Mode

Implementing this feature involved modifying the game code for each game to support async challenges and implementing the user interface using a combination of C++ and Actionscript since Scaleform was used for the UI. Each game mode was implemented differently and in some cases by a team working from a remote office so this presented a challenge at times. There was also an online server component that delivered notifications of a challenge from an Xbox Live friend directly from the main menu screen.

Tennis

Trapped

Trapped was my entry for Ludum Dare 22; a game making competition where you have 48 hours to make a game independently from Scratch! You can play the game here. It was placed within the top 10 for graphics and in the top 50 overall, pretty good considering it was my first attempt at a game jam!

The competition theme was ‘Alone’ - a tough one for sure! I ended up trying to create a spooky first person castle exploring game where you had to escape from a Castle. This was my first time using Unity game engine so it was quite a learning curve. I decided to focus mainly on graphics and art over gameplay quality for this jam.

To start with I set about creating a basic tileset for the Castle, the plan being that I would snap all of the different castle assets together in different ways to form a much bigger and more complicated building. I created a castle wall, floor, ceiling, carpet, door, light, portcullis and some crates to throw around.

Next I got all of these lovely art assets imported into Unity and I started placing and combining them into a large Castle scene. This seemed to work quite well when combined with some point lights and some linear fog in the distance to make the Castle all dark and spooky. I wish I had known about Unity’s Lightbaking tools at the time as this would have made the graphics look a lot better! Creating all of these assets and getting them imported correctly took me most of the first day.

The final day was spent getting some basic gameplay working. This involved setting up a basic first person camera and a mouse drag system that would let you drag objects in the world realistically to allow the player to look and move around the world.

I also set up the door levers and the portcullis animations along with some tutorial text and a simple trigger to reset the level at the end of the game.

In summary I think I hit the target I aimed for which was to create a nice looking game within such a short timeframe, however due to a massively over sensitive first person camera the controls left a lot to be desired! I plan to focus much more on gameplay in future game jams.